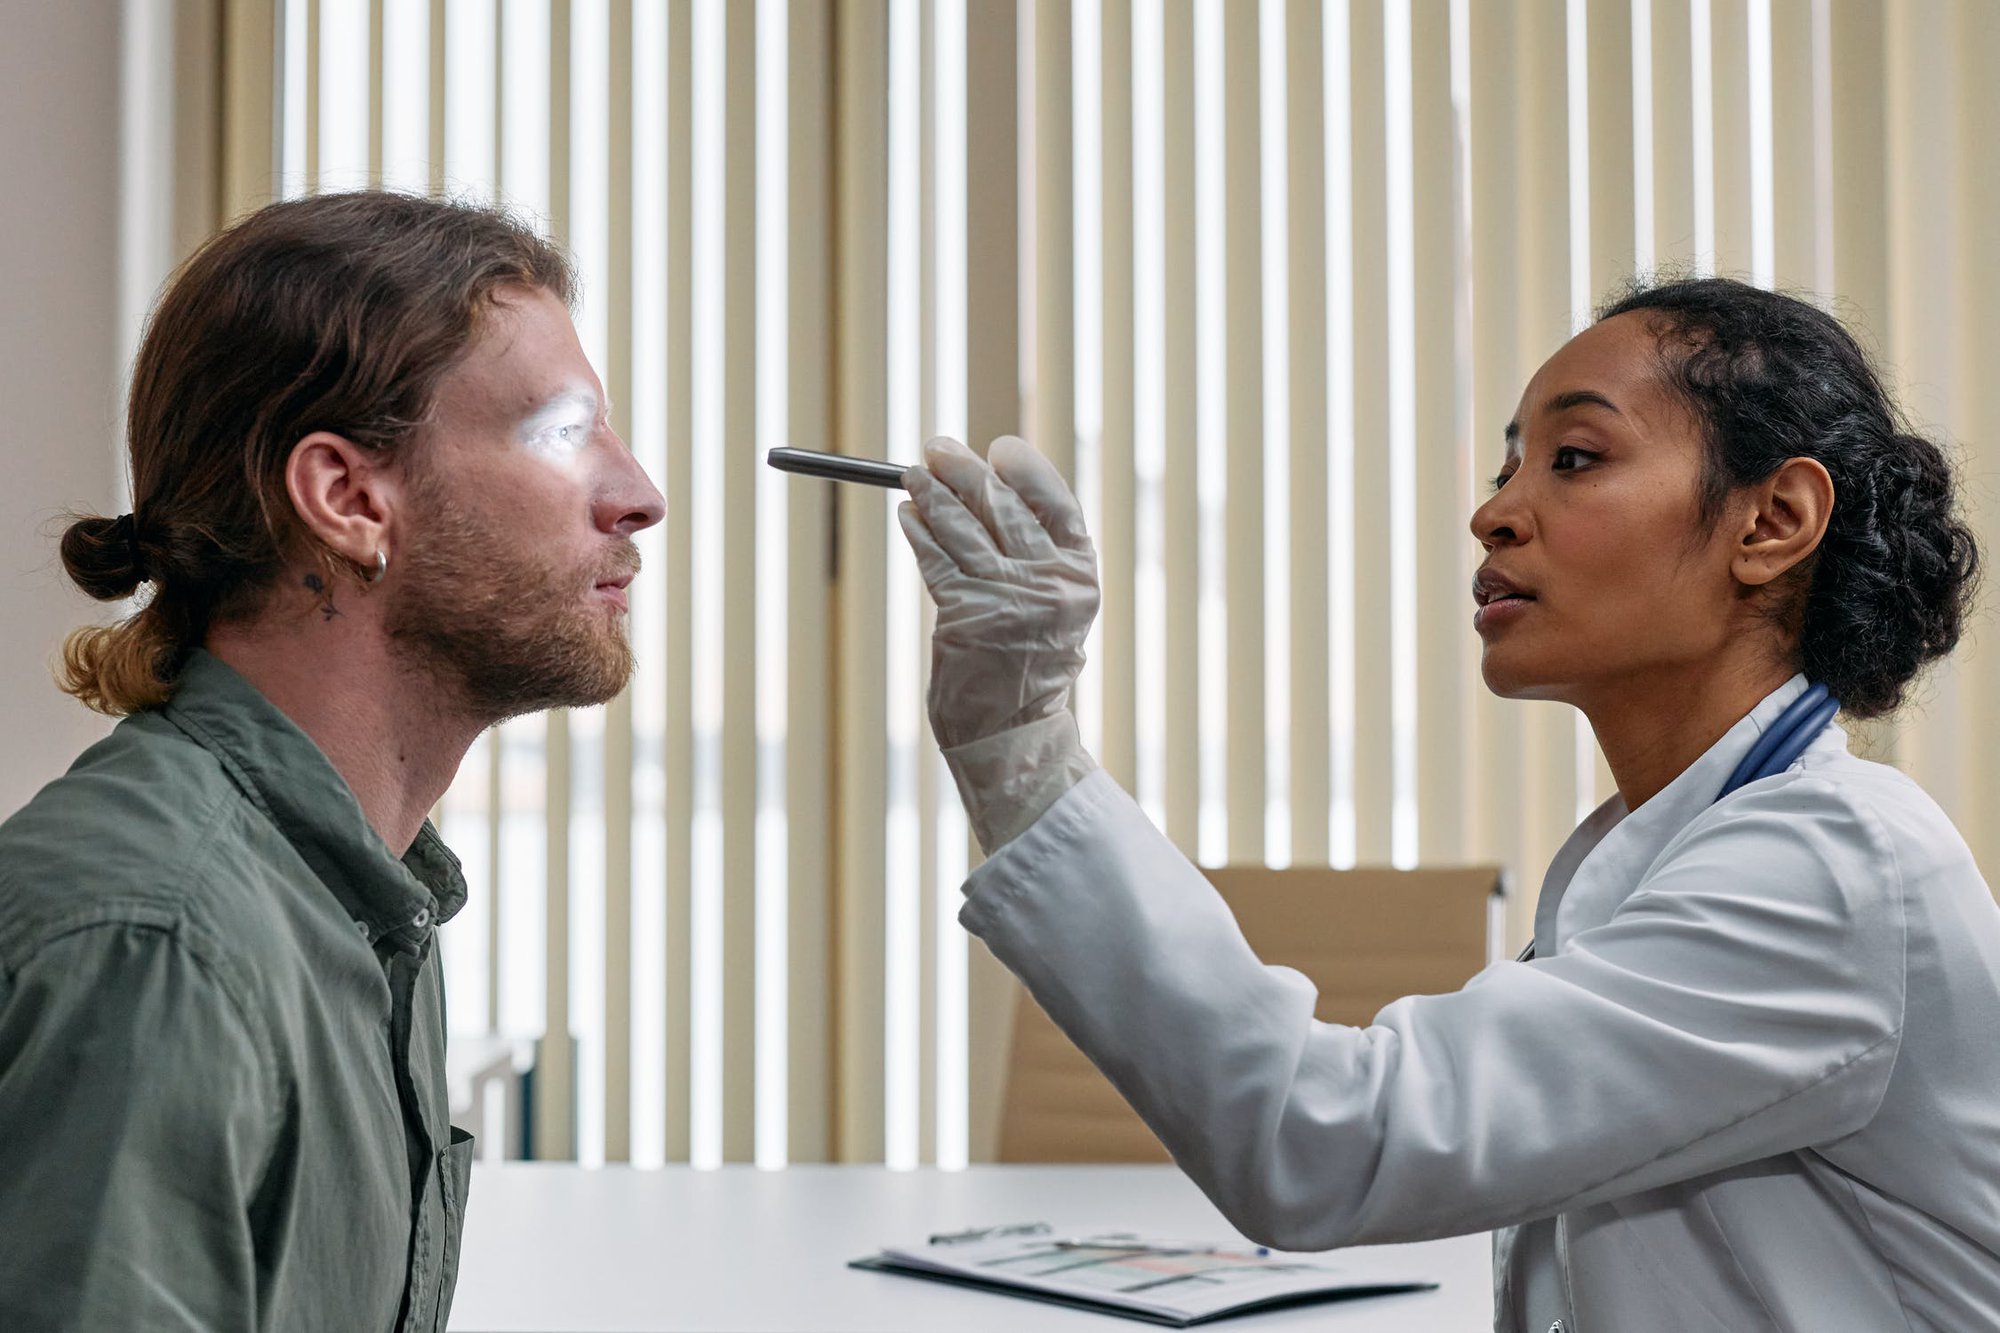
Head-to-Toe Nursing Assessment: Checklist to Conducting Full Body Examinations

The nursing process is the cornerstone of all nursing practice. It is a roadmap to quality, holistic care that nurses consistently offer to their patients. Assessment, the first step of this process, is when the RN gathers data about a client’s health state. Registered Nurses later use this information to formulate a diagnosis and identify the appropriate nursing interventions to contribute to the patient’s recovery.
In the assessment phase, one of the basic yet crucial tools a nurse has at their disposal is complete head-to-toe assessment. This evaluation includes all body systems and gives valuable information about the patient’s overall condition.
In this guide, we’ll give you an overview of the assessment process, as well as a comprehensive step-by-step guide on how to perform a head-to-toe assessment. As you gain experience, examining patients will become routine. This checklist is the first step to help you gather the professional confidence needed to perform evaluations.
Let’s get started.
What Is a Head to Toe Assessment?
If you’re still in nursing school or you’re just getting started with your nursing journey, you may ask yourself: What is a head-to-toe assessment? What does it include? How do I complete one?
Simply put, a head to toe assessment is an exhaustive process that checks the health status of all major body systems. It is a comprehensive physical examination that shines a light on a patient’s needs and problems. Performing this assessment falls under an RN’s duties, although sometimes a doctor or EMT might also do it. For the most part, head to toe assessments happen during primary care visits or annual physical exams.
When a patient comes into the medical facility with a particular complaint or health issue, the more common approach will be a problem-focused assessment. This means that the assessment process is fixated on specific care goals: the health problem has been identified, so this type of examination has a narrower scope.
The head to toe assessment is the opposite of that. It’s broader and concentrates on all aspects of the body. Its length will vary depending on the patient and their overall health status.
What Equipment Should you Have Ready for a Head to Toe Assessment?
Nurses who perform head to toe assessment must come in prepared. Some of the fundamental pieces of equipment you should organize before conducting a head-to-toe evaluation are:
- Gloves
- Thermometer
- Scale
- Hight wall ruler
- Penlight
- Stethoscope
- Blood pressure cuff
- Tongue depressor
- Sterile objects, both soft and sharp
What Methods of Examination Do You Use in a Head to Toe Assessment?
There are several procedures for performing a physical examination. While inspecting a patient in detail, you will use four main methods. We’ll describe briefly what they are and what they entail.
Inspection
Always performed first, inspection also is the most repeated method of examination. You need to use your sight and smell to check specific body areas for normal color, shape, and consistency.
Palpation
Touching the patient to sense abnormalities on (or in) the body is known as palpation. In the process of conducting a head-to-toe assessment, you will employ two kinds of palpation: light and deep. Light palpation is gentle and gives information about skin texture and moisture, fluids, muscle guarding, and some superficial tenderness the patient may be experiencing. On the other hand, deep palpation explores the internal structures of the body to a depth of four to five centimeters. Using this technique, RNs can learn more about organs and masses’ position, shape, mobility, and possible areas of discomfort.
Percussion
This third technique requires the nurse to tap on the patient’s body to produce sound vibrations. These sounds can confirm the presence of air, fluid, and solids. It can also pinpoint organ size, shape, and position.
Auscultation
The last method of examination is auscultation. It implies listening to the heart, lungs, neck, or abdomen to gather information. Direct auscultation is done with the unaided ear. Indirect auscultation requires the presence of amplification or mechanical devices, such as a stethoscope.

How Do You Start an Assessment?
The first thing you need to do before starting an assessment per se is to build rapport with the patient. Introduce yourself, explain what you will be doing, ask what brings them to the doctor’s office. Address any questions they may have before you begin. Ask if there’s something you could do to make them more comfortable, like changing the room’s temperature or the lighting. It’s essential to build a relationship with the patient before the actual physical examination begins.
From the moment you walk into the room, you should start making mental notes of certain physical clues the patient might display:
- Their general appearance (How does their hygiene, dress, affect seem?)
- Their posture (Do they seem to experience problems sitting/standing?Are they grunting during movement?)
- Is their speech clear or slurred?
- Are there any abnormal smells?
- Their alertness (Can they answer questions? Are they reluctant to speak?)
- Signs of distress (Do they seem visibly confused, pale? Do they have problems breathing? Are they avoiding eye contact?)
Once you have established a relationship with the patient, you can begin the assessment.

Head to Toe Assessment Checklist
In order to make it easier for yourself to conduct the assessment, you can have a checklist or an overview of all the things you ought to examine. This section will explore in detail what exactly is included in this type of assessment, and it will equip you with a step-by-step guide to performing it.
1. General Overview
First, you obtain a general overview of the patient’s health state. These are the details to keep an eye on in this phase of the assessment.
- Collect their vital signs. (It’s encouraged to ask permission before touching a patient. Also, explaining what you are doing/what assessment you are performing will help the patient feel more relaxed.)
- Check heart rate
- Measure blood pressure
- Take body temperature
- Pulse oxymetry
- Respiratory rate
- Check pain levels
- Check hight and weight and calculate their BMI
2. Hair/ Skin/ Nails
Once you have a general overview, you can start from the top of the body and make your way down. The assessment is called head to toe for a reason. Some things to look out for are:
- Hair distribution(even/uneven)
- Hair infestations (lice, alopecia areata)
- Bumps, nits, lesions on the scalp
- Tenderness on scalp
- Tenderness, lumps on the skin
- Lesions, bruising, or rashes on skin
- Temperature, moisture, and skin texture (is the patient pale, clammy, dry, cold, hot, flushed?)
- Edema
- Consistency, color, and capillary refill of nails
- Pressure areas
3. Head
- Shape is rounded, symmetrical
- Upon palpation, no nodules, masses or depressions are identified
- Face appears smooth and symmetrical with no nodules or masses present.
4. Eyes
- Check external structures
- Assess eye symmetry
- Check conjunctive and sclera
- Check for PERRLA
- Perform visual acuity test
- Check eyes for drainage
- Check vision with Snellen Chart
- Check six cardinal positions of the gaze

5. Nose
- Palpate nose and check symmetry
- Check septum and inside nostrils
- Patency of nares (patient can breath through each nostril)
- Check sense of smell
- Palpate sinuses
6. Mouth and Throat
- Check lips for color and moistness
- Inspect teeth and gums
- Examine tongue
- Inspect the inside of mouth
- Look at tonsils and uvula
- Assess hypoglossal nerve by asking patient to move tongue from left to right
- Check the patient’s ability to taste, to swallow, and their gag reflex
7. Ears
- Inspect for drainage or abnormalities
- Test hearing with whisper test
- Look inside ear: inspect the tympanic membrane and asses ear discharge
- Tuning fork tests (Weber’s Test, Rinne Test)
8. Neck
- Check neck muscles to be equal in size
- Palpate lymph nodes
- Check head movements and whether they happen with discomfort
- Observe neck range of motion.
- Check trachea placement
- Check shoulder shrug with resistance
9. Chest: Cardiovascular Assessment
- Listen to the heartbeat. Areas where to auscultate heart sounds: aortic, pulmonic, Erb’s point, Tricuspid, Mitral
- Palpate the carotid and auscultate apical pulse
10. Chest: Respiratory Assessment
- Auscultate lung sounds front and back
- Observe chest expansion
- Ask abour efforts to breathe/coughing
- Palpate thorax

11. Abdomen
- Inspect abdomen
- Listen to bowel sounds in all four quadrants
- Palpate all four quadrants of the abdomen to check for pain or tenderness
- Ask about bowel or bladder problems
12. Extremities
- Assess range of motion and strength in arms, legs, and ankles
- Assess sharp and dull sensation on arms and legs
- Inspect arms and legs for pain, deformity, edema, pressure areas, bruises
- Palpate radial pulses, pedal pulses
- Check capillary refill on fingernails/toenails
- Assess gait
- Assess handgrip strength and equality
13. Back area
- Inspect back and spine
- Inspect coccyx/buttocks
Once you go through all these steps, the assessment is complete. Let your patient know that this stage of evaluation is over. Make sure they don’t have any questions or concerns.
Things to Keep in Mind While Performing a Head to Toe Assessment
Document your findings
Performing the head to toe assessment is a vital part of the nursing process. So is making sure you thoroughly document your findings. Write down all relevant information you get from the assessment concise yet clear. Your observations, translated in these notes, will make up the core of the subsequent care plan. It may be helpful to use a head-to-toe assessment checklist to guarantee that you remember all the essential information and document it.
Communicate efficiently
Efficient communication is the cornerstone of successful nursing care. When performing a head to toe assessment, you should make use of this crucial skill. Ask for permission before touching a patient, explain what you are doing – and why. Create a space where patients feel encouraged to ask questions, express worries or concerns.
Bilateral symmetry
Generally speaking, the human body is bilaterally symmetrical. Any unusual symmetry you may observe during your examination is worthy of further consideration. Weakness on one side? Less ability to move the limbs on one side of the body? These could be indicators of underlying neurological or musculoskeletal issues, so keep an eye for noticeable differences between the body’s right and the left side.
Last Thing on the Checklist: Are You Ready to Become the Best Nurse You Can Be?
Performing a head to toe assessment may seem daunting at first. There’s lots of body systems to examine and many details to keep an eye on. However, as with all things, practice makes perfect. As you gain more confidence in your knowledge, expertise, and skill, you’ll be conducting nursing assessments like a pro.
Having a solid foundation to build on is paramount. At Nightingale College, we help aspiring nurses build that strong foundation.
Enroll in our BSN program or advance your nursing education with our RN-to-BSN online program.

